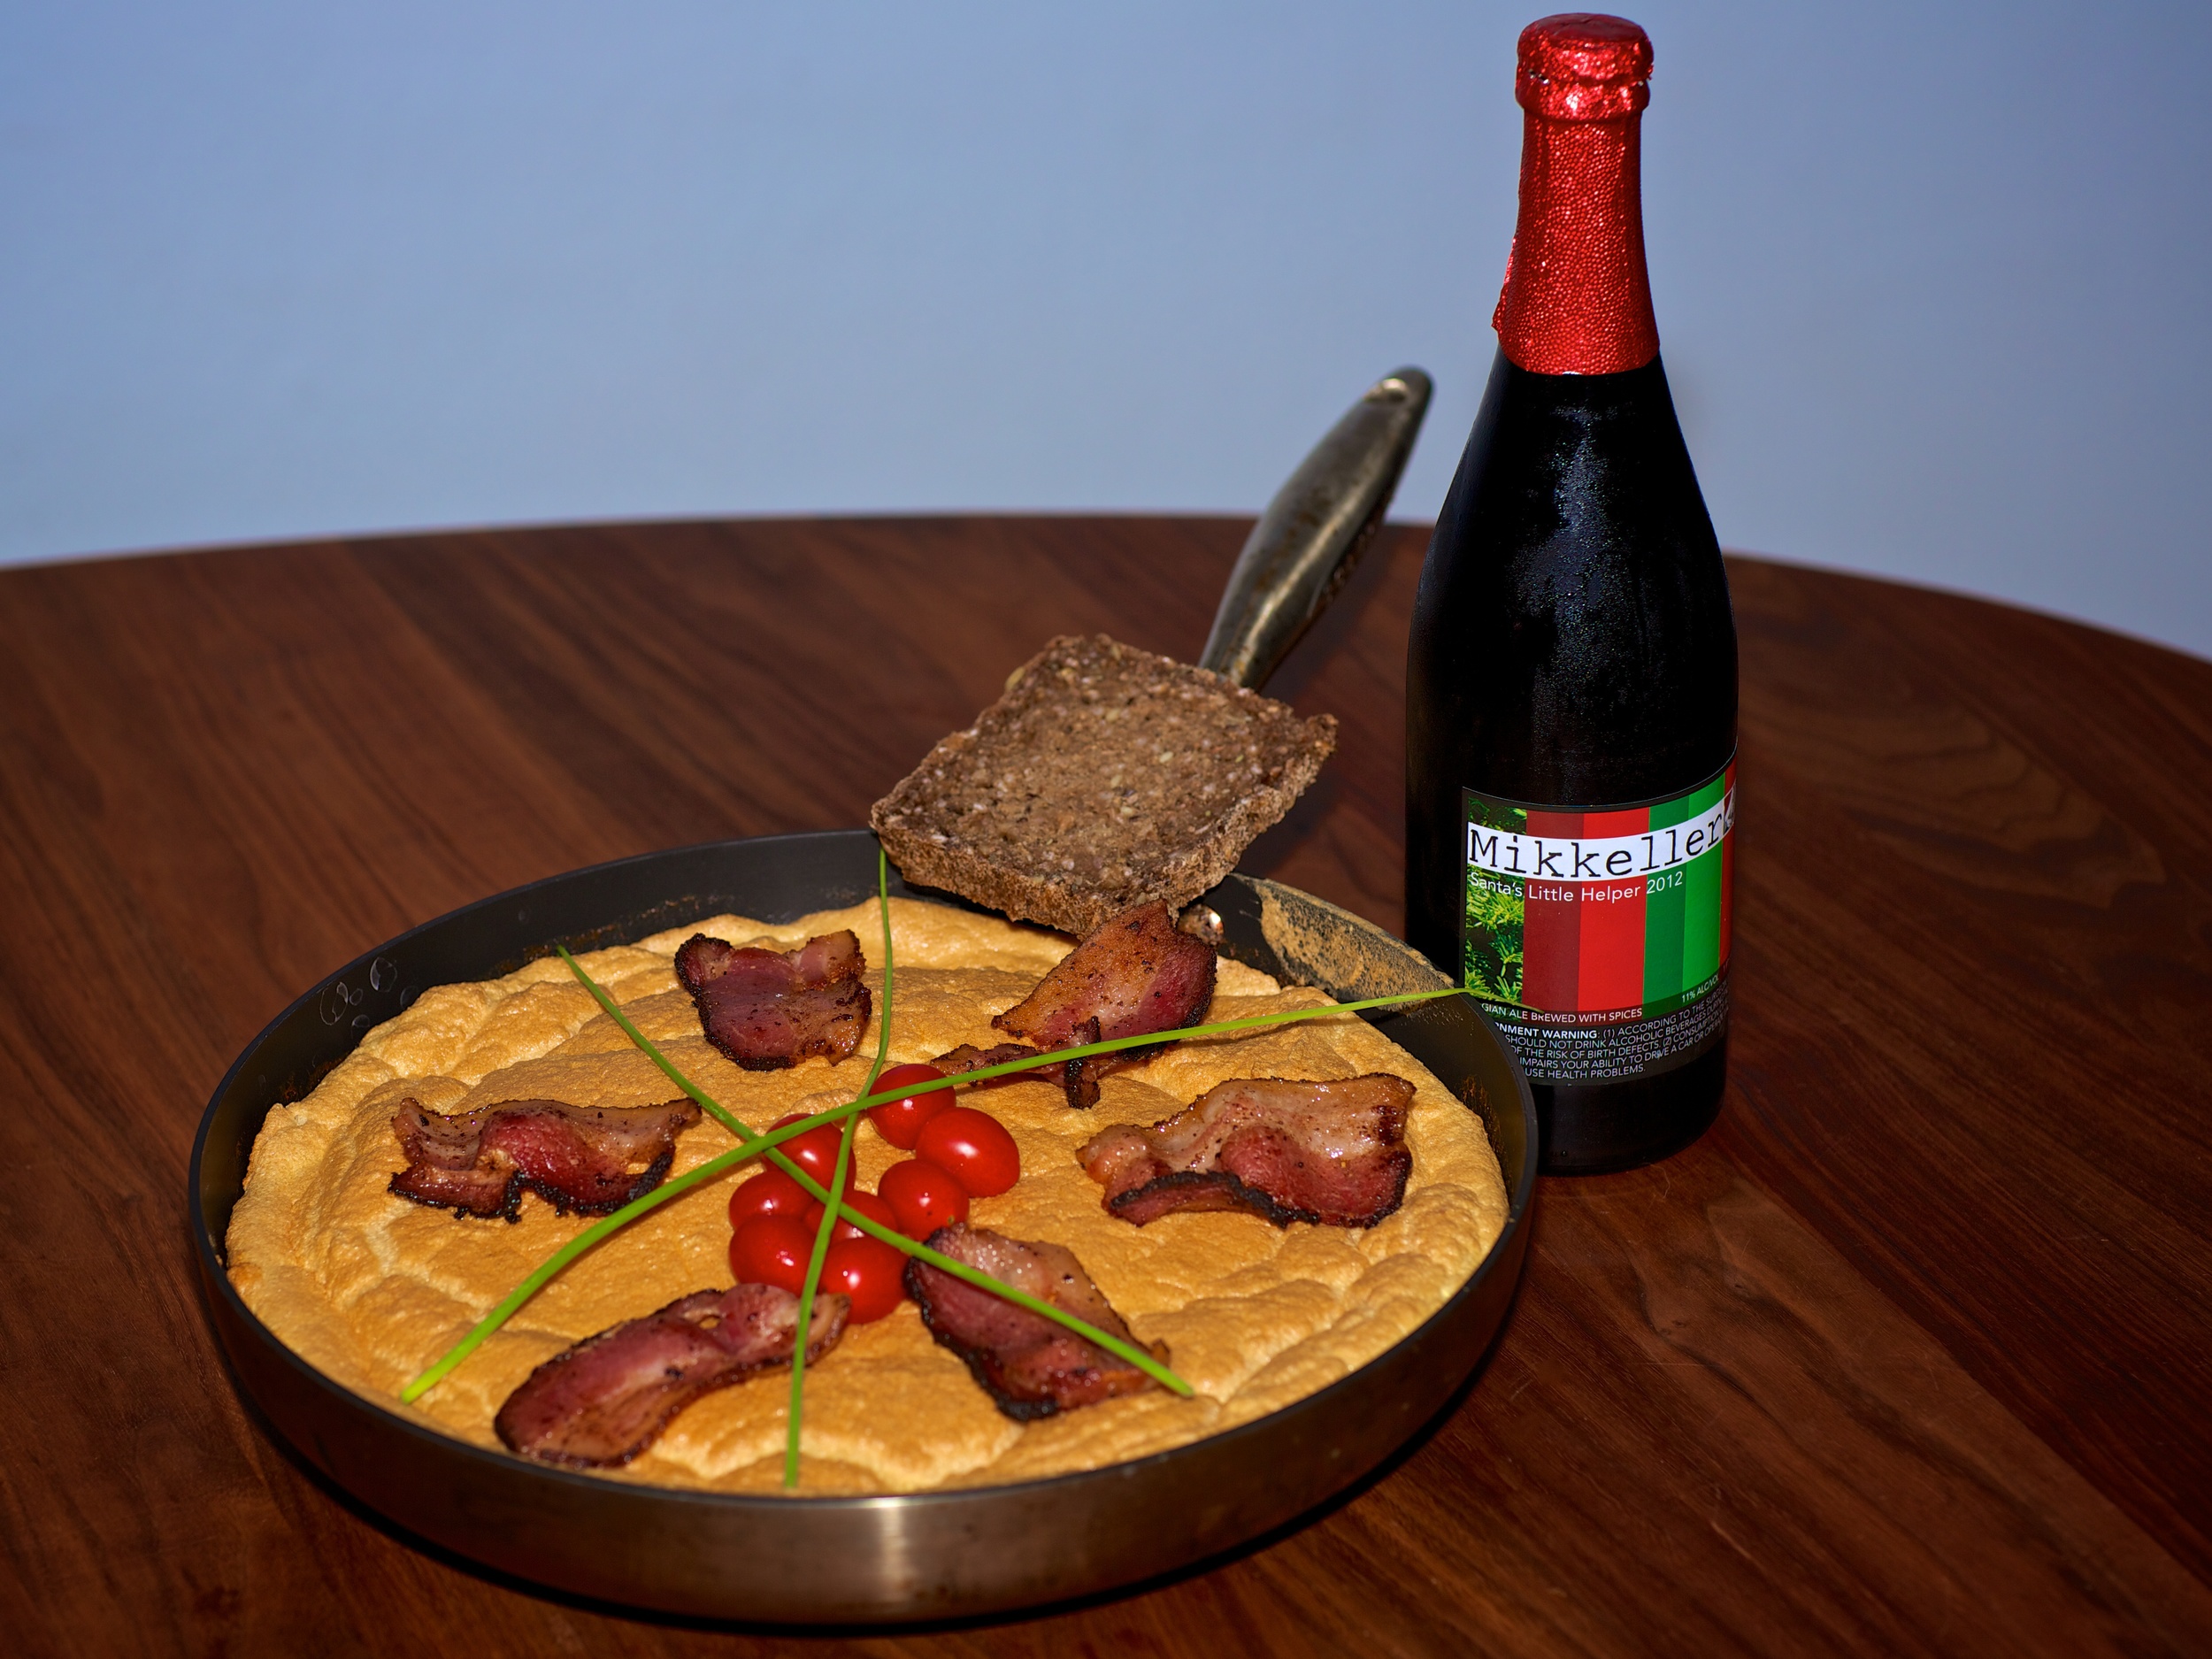
Sweet • Sour • Savory

Sweet • Sour • Savory

Food blog on scandinavian style food done right.

Danish Coffee Cake - Drømmekage fra Brovst

Cake2 Comments
Danish Coffee Cake

Danish Coffee Cake

Danish coffee cake or "Drømmekage from Brovst" is one of the most well known cakes in Denmark. We might be known for the danish, aka “wienerbrød," but most danes has had this cake at school, work or at family gatherings. In the 70's and 80's this coffee cake was the go-to cake for the danish at home-bakers, and rightfully so. The soft, moist and not overly sweet vanilla spongecake, topped with a coconut-caramel is so yummy and the cake will evaporate in any home.

The cake has it's roots in the 1950s in Northern Jutland, but became known all over the country in the early 1960s when the big flour-company published the recipe in a pamphlet. 

It's not only the taste that made this cake popular, it's so easy to make, so it's a good starting cake for non-bakers.

Ingredients:

Cake:

  • 4 eggs
  • 300 g sugar
  • 250 g all-purpose flour
  • 3 teaspoons baking powder 
  • 1 teaspoon vanilla paste
  • 200 g milk
  • 50 g butter

Topping:

  • 150 g butter
  • 225 g shredded unsweetened coconut
  • 340 g brown sugar
  • 75 g milk

Directions:

Preheat the oven to 425℉ (220℃).

Melt the butter in the milk in a little saucepan, set aside to cool until finger warm.

In a stand mixer whisk eggs with sugar until light and fluffy, about 5 minutes. Incorporate the vanilla paste.

Sift the dry ingredients and fold them gently into the egg mixture. Fold the milk/butter into the batter. 

Line a baking pan with parchment paper. Pour the batter into the baking pan. 

Bake cake for about 20 minutes or until a cake tester comes out clean. 

Make the topping, while the cake is in the oven. 

Heat milk, butter, sugar and coconut in a saucepan while stirring. 

As soon as the cake comes out of the oven, add the topping, being careful to distribute it in an even layer. Put the cake in the oven for another 4-6 minutes.

Let cake cool on a rack.

Enjoy with friends or family.


Danish Baked Omelette

Dinner, LunchComment
Danish Baked Omelette.

Danish Baked Omelette.

The Danish baked omelette is an old-fashioned lunch dish served with rye bread and a cold beer.

I my family we had baked omelette for dinner, well my mom made it in a skillet on the stove. Turning the omelette was quite a hassle. Sliding the omelette onto a large lid, and flipping it is not for me. I found that putting the omelette in the oven works like a charm.

The omelette is so easy to make, and is great for a weeknight where time is limited. Sometimes it's just nice to make a quick and simple dinner and it doesn't hurt that it's rather cheap. This night I wanted to clear out some of all the eggs in the refrigerator, so I just bought a pack of bacon and some chives, and done.

Here's my moms recipe for omelette:

Ingredients:

  • 6 eggs
  • 1½  tablespoons milk (½ tablespoon pr. 2 eggs)
  • 6 teaspoons all-purpose flour
  • salt & pepper
  • extra virgin olive oil
  • bacon
  • chives

Directions:

Preheat the oven to 400℉ (200℃).

Separate the egg white and the yolks. Mix the yolks with milk, flour, salt and pepper.

Whisk the whites until stiff using a hand mixer or a stand mixer. Fold the whites in the yolks.

Heat a skillet with oil over medium heat, pour in the batter. Put the skillet in the oven. Bake omelette for 15-20 minutes. Do not open the oven, the souffléing will stop.

Fry up the bacon, and wash the chives.

Serve the omelette with a piece of rye bread.


The Danish version:

Æggekage

Ingredienser:

  • 6 æg
  • 1½ spsk mælk (½ spsk pr. 2 æg)
  • 6 tsp hvedemel 
  • salt & peber
  • olivenolie
  • bacon
  • purløg


Æggeblommerne piskes sammen med mel, mælk salt og peber.

Hviderne piskes stive og vendes i æggemassen.  Kom massen på en opvarmet stegepande med lidt olie på. Kom stegepanden i ovnen, og bag æggekage i 15-20 minutter ved 200℃. 

Steg baconen og vask purløg. 

Server æggekagen med et stykke godt rugbrød og en kold øl.


Vegetable Spaghetti with Meat Sauce

Dinner, Meats, VegetablesComment
Vegetable Spaghetti with Meat Sauce

Vegetable Spaghetti with Meat Sauce

I love pasta, and I love spaghetti. But to tell the truth, I always eat to much when we have pasta for dinner. It's so easy to eat, and I love the texture. I tried to have spaghetti squash, instead, but this combination works well in my family,

The most common dinner in Denmark nowadays is pasta with meat sauce, but it's a trend that started in the 80's. Before that it was most likely meatballs with potatoes and brown gravy, or at least meat and potatoes.

When I moved out of my parents house, I didn't have boiled potatoes for moths. I was sick and tired of them. I had pasta and rice with my dinners. 

I know vegetable spaghetti is done before, but this is my take on it. I don't put measurements on my meat sauce, Season after taste.

Ingredients:

Vegetable Spaghetti:

  • 2 small squash, julienned

  • 3 leeks, julienned

  • 3-4 carrots, julienned (or a bag shredded carrots)

Meat Sauce:

  • extra virgin olive oil

  • bacon, in bite size pieces

  • onions

  • garlic

  • ground beef (lean)

  • canned crushed tomatoes

  • beef base (bouillon)

  • water

  • red wine

  • rosemary

  • thyme

  • salt to taste

Directions:

Meatsauce:

Heat a drizzle of oil in a pot over medium heat. Add the bacon and cook until the fat is rendered and the bacon is turned brown. The bacon doesn't have to crisp up. Transfer the bacon to a plate lined with kitchen towel, to drain of the excess fat. Discard the bacon fat. Add oil to the pot again and brown the ground beef, crumbling the meat with a wooden spoon. Add the garlic, onions, rosemary thyme, a little salt and pepper. Cook, stirring frequently, for 5 minutes. Add the wine, beef base, water, the crushed tomatoes, mushrooms and bacon. Simmer for at least 30 minutes. The longer it simmers, the better it gets. 

Vegetable spaghetti:

Cut off the dark leaves of the leeks and discard. Cut of the root and the bottom 1/2 inch of each leek. Cut the leeks lengthwise in half and wash well under cold running water. Wash zucchini and peel the carrots. 

Cut all the vegetables julienne.

Heat a skillet, add oil and sear the vegetables until tender, but still having some bite. Season with salt and pepper..


Cilantro and Lime Cauliflower Rice

Dinner, Sides, VegetablesComment
Cilantro and Lime Cauliflower rice

Cilantro and Lime Cauliflower rice

I love the cilantro-lime rice from Chipotle, but when I'm trying to cut down on rice and pasta, I need a replacement. For the longest time I've been adding grated and steamed cauliflower to my rice to save calories. But replacing all the rice is new to me. 

You can make cauliflower rice in a lot of ways. You can steep the grated cauliflower in boiling water for a minute, and then drain it. Or nuke it in the microwave for 30 seconds.  Or fry the cauliflower up in a skillet. The latter is what I did in this recipe.

Serves 4

Ingredients:

  • 1 teaspoon extra virgin olive oil
  • 1 head of cauliflower, grated
  • 2 cloves of garlic, minced
  • 1 shallot, diced
  • 1 lime, zest and juice
  • a handful cilantro, chopped
  • salt to taste

Directions:

Grate the cauliflower or using a food-processor pulse until cauliflower is rice-sized. Mince  garlic, chop shallot. 

Heat a skillet or sauté pan over medium heat, add oil, shallots and garlic. Sauté until  tender. Raise the heat to medium-high. Add the cauliflover and sauté while stirring until it's tender, but still have some bite. Season with salt. Remove from heat, add cilantro, lime zest and juice. Serve immediately.


The Danish version:

Blomkålsris med koriander og lime

Ingredients:

  • 1 tsk Olivenolie
  • 1 blomkålshovede, revet
  • 2 hvidløgsfed, finthakket
  • 1 skalotteløg, hakket
  • 1 lime, skal og saft
  • 1 håndfuld frisk koriander, hakket
  • salt

Riv blomkålen, enten på et rivejern eller i en food processor, så blomkålen er på størrelse med riskorn. Hak løg og hvidløg.

Sæt en pande over medium varme. Kom olie, løg og hvidløg i panden, og sautér indtil løgene er gennemsigtige. Skru op for varmen og kom blomkålen i. Steg indtil blomkålen er mør, men der stadig er bid i. Smag til med salt.

Tag blomkålen af varmen og tilsæt koriander, limesaft og -skal.

Server straks. 


Chicken with preserved lemons & green olives

Dinner, PoultryComment
Chicken with Preserved Lemons and Green Olives

Chicken with Preserved Lemons and Green Olives

I love simmer food. We often had simmer food back home. Best of all is one-pot-meals they are easy to prepare,  just not as fast as I sometimes would like. 

I like to try out different cuisines, and getting “Mourad: New Moroccan” cookbook, I had to have a a Moroccan clay Tagine. Well I bought it because I wanted to make a lamb dish I once had. I never got that far, because I stumbled over this chicken dish, and I had to try this.

You get the best flavours if you roast and grind you own spices, but even though I have a spice grinder, I alway end up using the store bought ground spices - I don't know what I'm missing out on. 

You can make this dish in a tagine or in a ovenproof skillet with a lid. When using a tagine, be sure to use a diffuser over the burner, so the tagine won't break. 


This is my take on the dish.

Serves 3

Ingredients: 

  • 2 teaspoons fat (duck or olive oil)
  • 6 chicken thighs (I use boneless, skinless thigh filets)
  • salt
  • 3 onions (finely sliced)
  • 2 tablespoons (11 g) ground coriander
  • 2 teaspoons ground ginger
  • 1/2 teaspoon ground turmeric
  • 2 teaspoons white pepper
  • 1 teaspoon saffron treads
  • 1 tablespoon chicken base (Better than Bouillon reduced sodium)
  • - 2 cups water
  • 100 g green olives
  • 4 - 6 quarters preserved lemons
  • Italian parsley
  • cilantro
  • salt to taste

Directions: 

Salt the chicken and let sit for about an hour at room temperature.

Preheat you oven to 350 ℉ (175 ℃). 

Heat the fat in the tagine over medium heat. Add the chicken and sear it on both sides. Work in batches, so the chicken won't steam instead of browning. Remove the chicken from tagine. Discard the fat, and add a teaspoon new fat to tagine. Add onions and sauté for about 15 minutes or until they are tender and golden brown. 

Sautéing onions.

Sautéing onions.

Add the spices and a pinch of salt to the onions and stir constantly for about 1,5 minutes to lightly toast the spices. Return the chicken legs to the tagine, add the chicken base and water, bring to a boil. 

Cover the tagine and put it in the oven, and cook for 30-40 minutes, or until the chicken is tender. Remove tagine from oven and remove the chicken from the tagine.  

Return the tagine to the burner, and let simmer for about 3 minutes to reduce the sauce. I thicken the sauce with some cornstarch diluted in cold water.

Add diced preserved lemon and green olives, let them heat through. Add herbs and season with sat. 

Serve the chicken with rice or couscous.