Sweet • Sour • Savory

Food blog on scandinavian style food done right.

Poached Eggs version 2

Breakfast, Brunch, techniqueTove Balle-PedersenComment

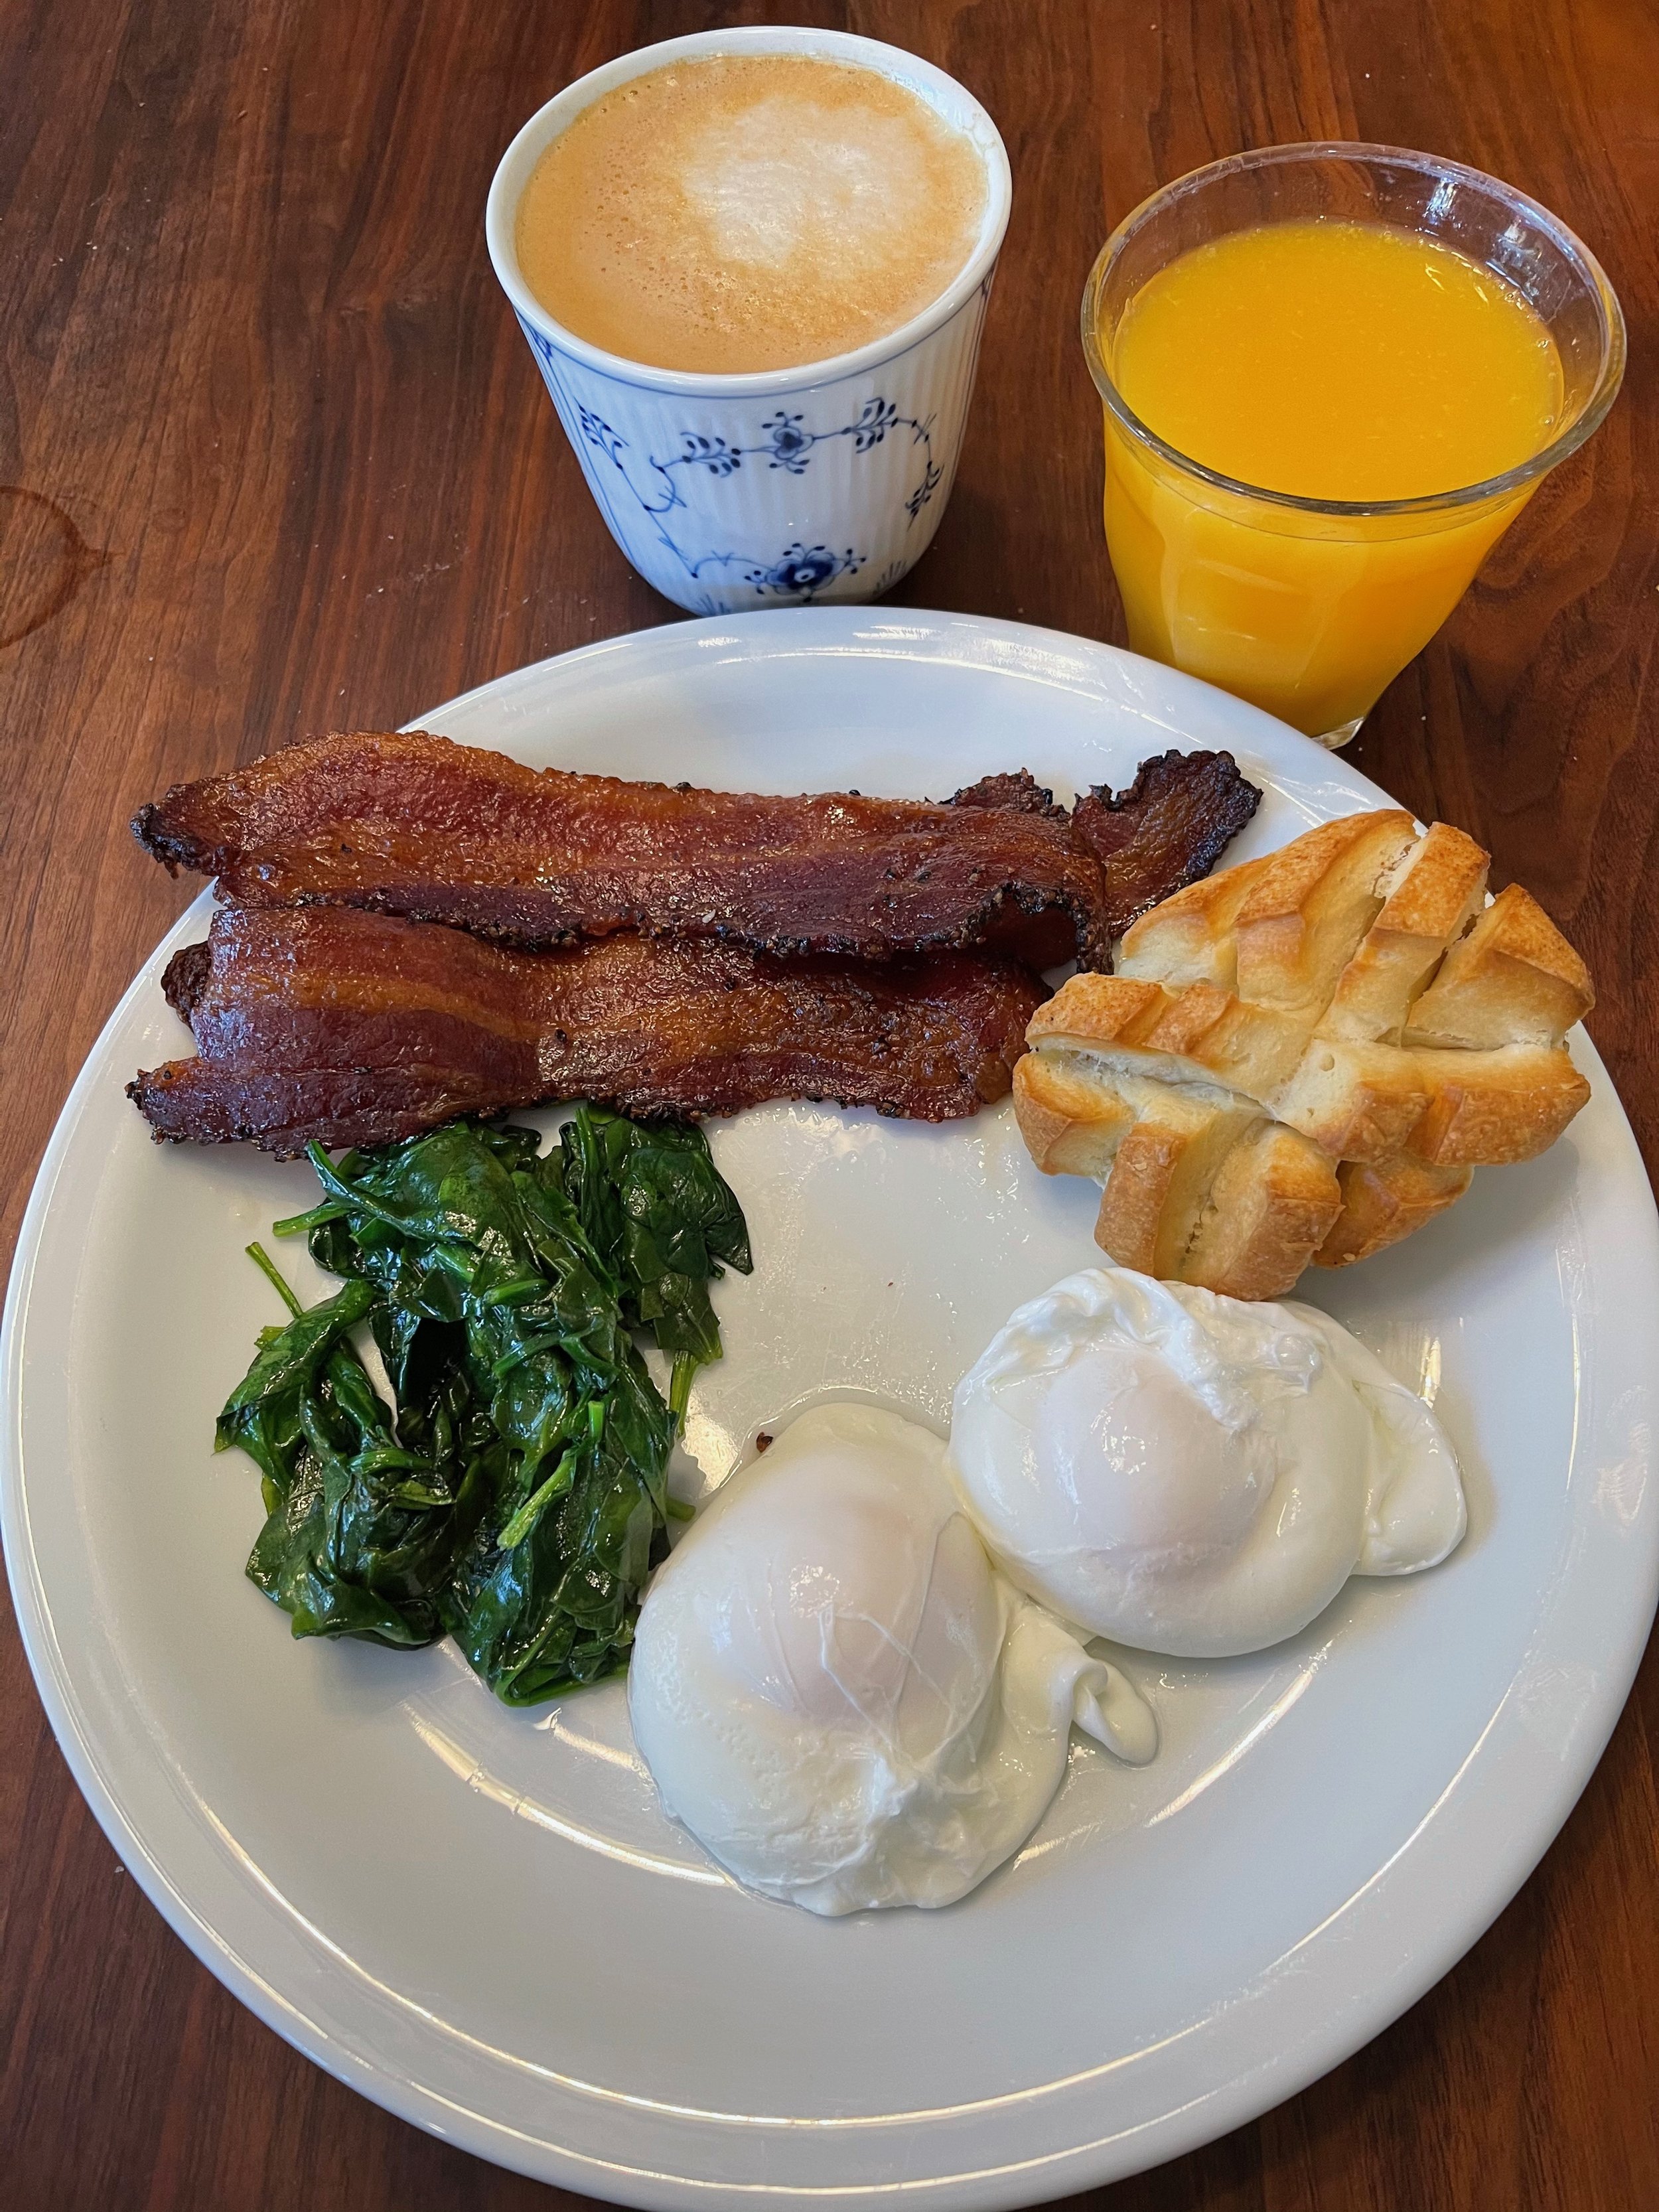
Poached Eggs.

I really love poached eggs, but it’s kinda a new love. Before we moved to California, it wasn't really a thing for me. Back then I preferred soft boiled eggs. But a poached egg is pretty much a naked soft boiled egg 😆, so maybe I didn’t change much 😳

I thought I had found a foolproof method, but it was hard to make more eggs at a time, when making a whirlpool in the pot. So with this newer (to me) method, I’m able to make 4 eggs at the same time. And I perfected this method to fit my family.

I use my thick bottomed sauté pan, it is wide and shallow, and works perfect.

Eggs in general: When you want poached eggs, you need to use fresh eggs. When you crack the egg you can tell that you have a fresh egg, when the yolk is firm and plump, and the white consist of two parts: a gelatinous mass around the yolk and a runnier liquid.  As the egg ages, the white becomes more runny.  So the runnier the white, -  the older the egg. 

If you don't want to crack the eggs to figure out the freshness, here's a quick guide:

Place your eggs in a cup or bowl of fresh water

  • If the egg sinks and lays flat on the bottom, it's very fresh.

  • If the egg sits on the bottom at an angle,it's a bit older.

  • If the egg stands on end but still sits on the bottom, use for baking.

  • If the egg floats, it is old and you don't want to use it.

Serves 2-4

Ingredients:

  • 4 eggs

  • 2 tablespoons vinegar

Equipment needed:

  • Shallow saucepan with cover

  • Slotted spoon

Directions:

Crack the eggs into a cup each.

Bring the water to a boil, add the vinegar.

Turn off the heat.

Gently place the eggs in the pan with some space between them. Put on the lid.

Set the timer for 4 minutes when you have placed the first egg in the water.

Remove the eggs from the water with a slotted spoon in the same order as you put them in.

Serve immediately. Alternatively, place the egg in an ice bath and refrigerate up to 8 hours. Reheat in warm water just before serving.

Enjoy!


Lemony Kale and White Bean Soup

Dinner, Poultry, Soup, vegan, VegetarianTove Balle-PedersenComment

Lemony Kale and White Bean Soup

My mom often made kale soup during the winter months, but her soup was made with very fine chopped kale, it was kinda grated. It felt like I was eating the fresh cutting from the lawn, and the cut of meat was very fatty. To be honest, it was far from a favorite of mine, but my mom and dad loved it.

So here many years later, after I have been using kale in green salads, I wanted to try a white bean and kale soup, hoping not to visit my childhood kale soup traumas. Maybe that was why it took me years to muster enough courage to give it a try. As it turned out, this soup was nothing like my moms kale soup, actually it has become one of my favorite winter soups. The different textures and the tanginess of this soup makes all the difference. It makes an appearance on the menu in my house several times a month. It’s easy to make, and you have a comforting, warm, and healthy meal on the table within 25-30 minutes.

Normally I use Lacinato kale also known as Dinosaur, or Tuscan kale, but any kale will do. Just make sure to give it a rough chop, so you have something to chew on. If you want to keep the soup vegan, use vegetable stock and omit the chicken.

Serves 4-6.

Ingredients:

  • 1 tablespoon olive oil

  • 1 large onion, chopped

  • 1 clove of garlic, crushed

  • ½ teaspoon rosemary

  • ½ teaspoon thyme

  • 2 lemon, the juice

  • 2 liter (8 cups) chicken stock (or vegetable stock)

  • 250 g raw chicken tenders, cut bite sized

  • 2 cans cannellini beans, drained (not rinsed)

  • 250 g fresh kale, roughly chopped

Directions:

Heat the olive oil in a heavy bottom pot over medium heat add the onion, and cook them until soft and translucent, you don’t want them to be brown. Add the garlic and cook for a little minute. Stir in the herbs, and add vegetable or chicken stock, lemon juice and chicken tenders. Cover, and bring the stock to a boil. Turn the heat down so it gets to a simmer. After about 15 minutes, season with salt and pepper.

Add the white beans and kale, and let it heat through befor serving. This will give the kale a bright green color, but keep it crispy. Serve the soup hot, with some good bread.

Enjoy!


Kransekage - Danish Almond Wedding Cake

Desserts, Cookies, Holiday, New Year's Eve, CakeTove Balle-PedersenComment

Kransekage - Danish Almond Wedding Cake.

For me this is not a wedding cake, but a New Years Eve cake. Most Danes celebrates New Year by drinking champagne and eating kransekage. This year I decided to make numbers instead of the traditional top.

You get the best cake by using a mazipan/almond paste with more than 63% almonds, otherwise the cake will flatten, and flow out during the baking, masking a cookie.

Kransekage should be crispy outside and a soft inside.

Happy New Year from Copenhagen Denmark.

Makes about 100 cm kransekage (6 rings and the top ball)

Ingredients:

Kransekage:

  • 75g almonds blanched or ¾ cup slivered almonds

  • 150 g (1 cup) sugar

  • 1½ (48 g) egg whites

  • 375 g marzipan, use Ren Rå marcipan or this Almond Paste

Icing:

  • confectionary sugar (powdered sugar)

  • egg white

  • water

Directions:

Put almonds and sugar into food processor with the steel blade in place and process until finely pulverized. Add the egg whites and process until smooth. Be careful not to heat the mass to more than 95 - 104°F, else the egg white will cook. 

Shred the marzipan and add it and the almond/egg white mixture to a stand mixer fitted with the paddle attachment. Beat it until it's completely smooth and free of lumps. Form the dough into a ball, and refrigerate for 2-3 hours.

Preheat oven to 375℉ (190℃).

Weigh out 400 g Doug and roll it into a 70 cm log. By during this, you will get the perfect size kransekage, whether. you make pieces, a number cake or a top.
Bake the kransekage for 12 minutes or on til golden brown.

With the palm of your hand gently press each log into a rounded triangle. You can wet you hands a little so the dough won’t stick to your hands.

Form the logs into circles on the parchment paper. Make sure to connect the ends really well.

Cutting the log up making rings.

For the numbers you need 12 cm + 4 cm for the number 2. and 22 cm for the number 0.

If you make a top, you start with 7 cm, and roll it into a ball. For the next ring add 2 cm, so you form a ring out og the 9 cm piece. For each remaing ring add another 2 cm, this will make a perfect top. With this amount of dough, you can make a top with 6 rings and a top ball. (7 cm, 9 cm, 11 cm, 13 cm, 15cm , 17 cm, 19 cm )

A trick to making Danish Kransekage, is to make the rings tall. When you cut the rings or pieces is should be in the shape of a triangle.

Here you see the shape of rings or pieces cut through.

Don’t use the kransekage pans, the rings will become rounded on the bottom, and harder to stack. Shape the kransekage with your hands.

Bake the kransekage on parchment paper, on a double baking sheet, this will prevent the bottom from burning.

Mix the powdered sugar with egg white and water.

When making the icing, it should be thick, not runny at all. Put the icing in a piping bag, cut a tiny tiny hole in the bag. I use half water and half egg whites for the icing.

When piping the icing shouldn't be runny. You almost place the thin line of icing on the kransekage. the piping take time, don't rush it.

If you make a top place the rings on top of each other, lifting the rings with your fingers like hooks inside the rings. Glue the rings together with small dots of icing.

Enjoy!

What happed here?

StoryTove Balle-Pedersen2 Comments

What happened here, no posts since easter?

Well out of the blue my family decided to relocate to our native country Denmark. So all time and energy went into getting the house ready to sell, sorting out all our stuff, selling some, giving a lot away. Ohh boy it's hard to get all the ducks in a row. But we made it. Now sitting in a rented house in Denmark, looking out on the frosty ground, it is clear we made the right decision fore us. Even though we left our beloved house, home, neighborhood and a lot of great friends, this feels right. Even though we are looking into a Christmas celebrating by ourselves (again), because the coronavirus is peaking once again, this feels right.

My plan is to revitalize the blog, keep posting in English, or Danglish 🙄 - I know my English isn’t perfect, but neither is my Danish. 13 years in the states, made me lose words, and the danish language have evolved, not only for the better 😂

I hope you will stay tuned.

Best wishes to your family from mine this holiday season, and Stay Safe.

Lemon Mousse Cake - Citronfromage-kage

Brunch, Cake, Desserts, HolidayTove Balle-Pedersen1 Comment
E9D91B6C-06E4-453C-A83B-36F1AD344523.jpeg

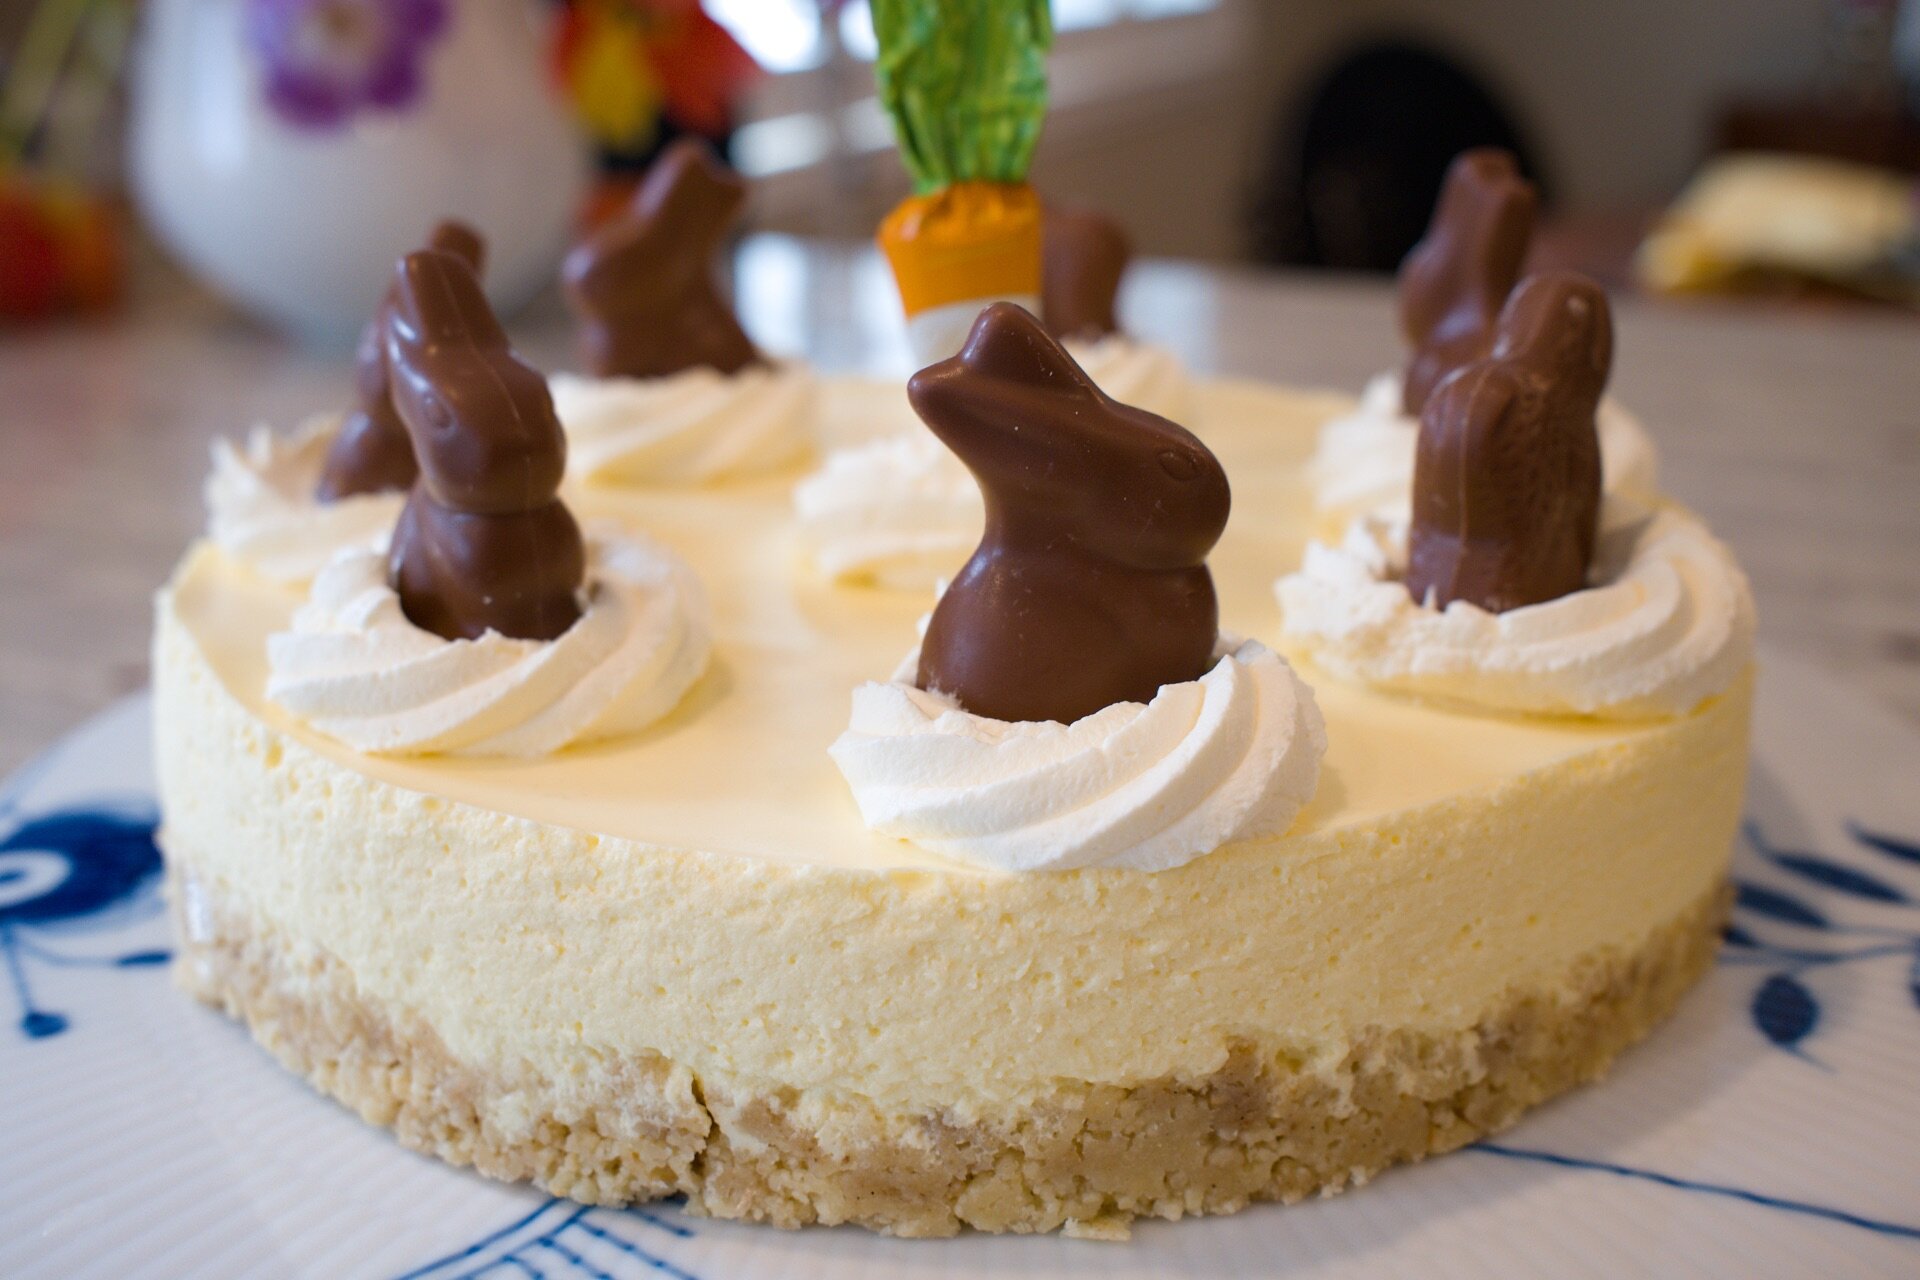
Lemon Mousse Cake - Citronfromage-kage.

Lemon mousse is a classic dessert we had a lot growing up. The silky smooth mousse just melts in your mouth. So when I saw a former participant in the The Great Danish Baking Show, Micki Cheng made the lemon mousse into a dessert, I had to make it.

So with my lemon tree filled with lemons and it being Easter 🐣 we were in for a perfect storm.

It was an instant winner, it could even be a new must have for Easters to come. Well I would make it any time of the year - replacing the chocolate bunnies with something else chocolate or berries.

Disclaimer: This dessert is made with raw eggs. I recommend using pasteurized eggs. This minimizes the risk of getting Salmonella food poisoning. You can find pasteurized eggs in some supermarkets here in California, on safeeggs.com you can see where to find them in your neighborhood. In Denmark you'll find it right next to regular eggs. For tips and information on how to handle eggs, check out FDA’s website. The Danish version of FDA, Fødevarestyrelsen also has advisory on egg

Serves 8-12.

Ingredients:

Crust:

Lemon Mousse:

  • 3 teaspoons gelatin (6 sheets husblas)

  • 4 whole eggs (read disclaimer)

  • 100 g sugar

  • 100 ml freshly squeezed lemon juice

  • 300 ml heavy whipping cream

  • 1 lemon, the zest of

Topping:

  • 150 ml heavy whipping cream

  • small chocolate bunnies or chocolate shavings

Directions:

Crust:

Crush the shortbread cookies, using a food processor or a rolling pin. In a medium bowl, mix together crumbs, melted butter, and vanilla bean paste until combined and crumbs are moistened. Press the mixture into the bottom of the spring form using either your fingers or the bottom of a small glass to form the crust layer.

Tips:

To ease the unmolding line the spring form with parchment paper in the bottom and some clear cake strips/cake collar, so the mousse won't adhere to the side of the pan.

Lemon Mousse:

Whip the heavy whipping cream until soft peaks, and set aside.

Whisk the eggs pale and fluffy with the sugar, set aside.

Mix the gelatin with half the lemon juice and melt the gelatin over a double boiler. Mix in the rest of the lemon juice and lemon zest.  

Using Husblas: put the sheets in a bowl of cold water for about 10 minutes. Over a double boiler melt the sheets with the water that adheres to it when removed from the bowl. Mix in the lemon juice and zest when melted completely.

Mix the gelatin lemon mixture with the eggs while whisking. Gently fold in the whipped cream. Pour the mousse onto the crust, and set it in the refrigerator for about 3 hours.

Gently unmold the mousse cake and place it on a platter.

Topping:

Whip the heavy whipping cream, and pipe the whipped cream onto the cake in a decorative manner. Place chocolate bunnies or chocolate shavings on top.

Serve the cake cold.

Enjoy!