Sweet • Sour • Savory

Sweet • Sour • Savory

Food blog on scandinavian style food done right.

dessert

Stout Ice Cream

Desserts, Ice CreamComment
Stout Ice Cream

Stout Ice Cream

Happy Father's Day, in advance for the US, or belated if you are in Denmark.

My dad didn't drink much alcohol, after becoming a family man. I honestly don't think he shied away from alcohol in his younger days, but that's a whole different story. When we had family gatherings my dad would drink one stout mixed with a sweet lemon soda. It actually tasted quite good, the sweetness went great with the bitterness of the dark beer. 

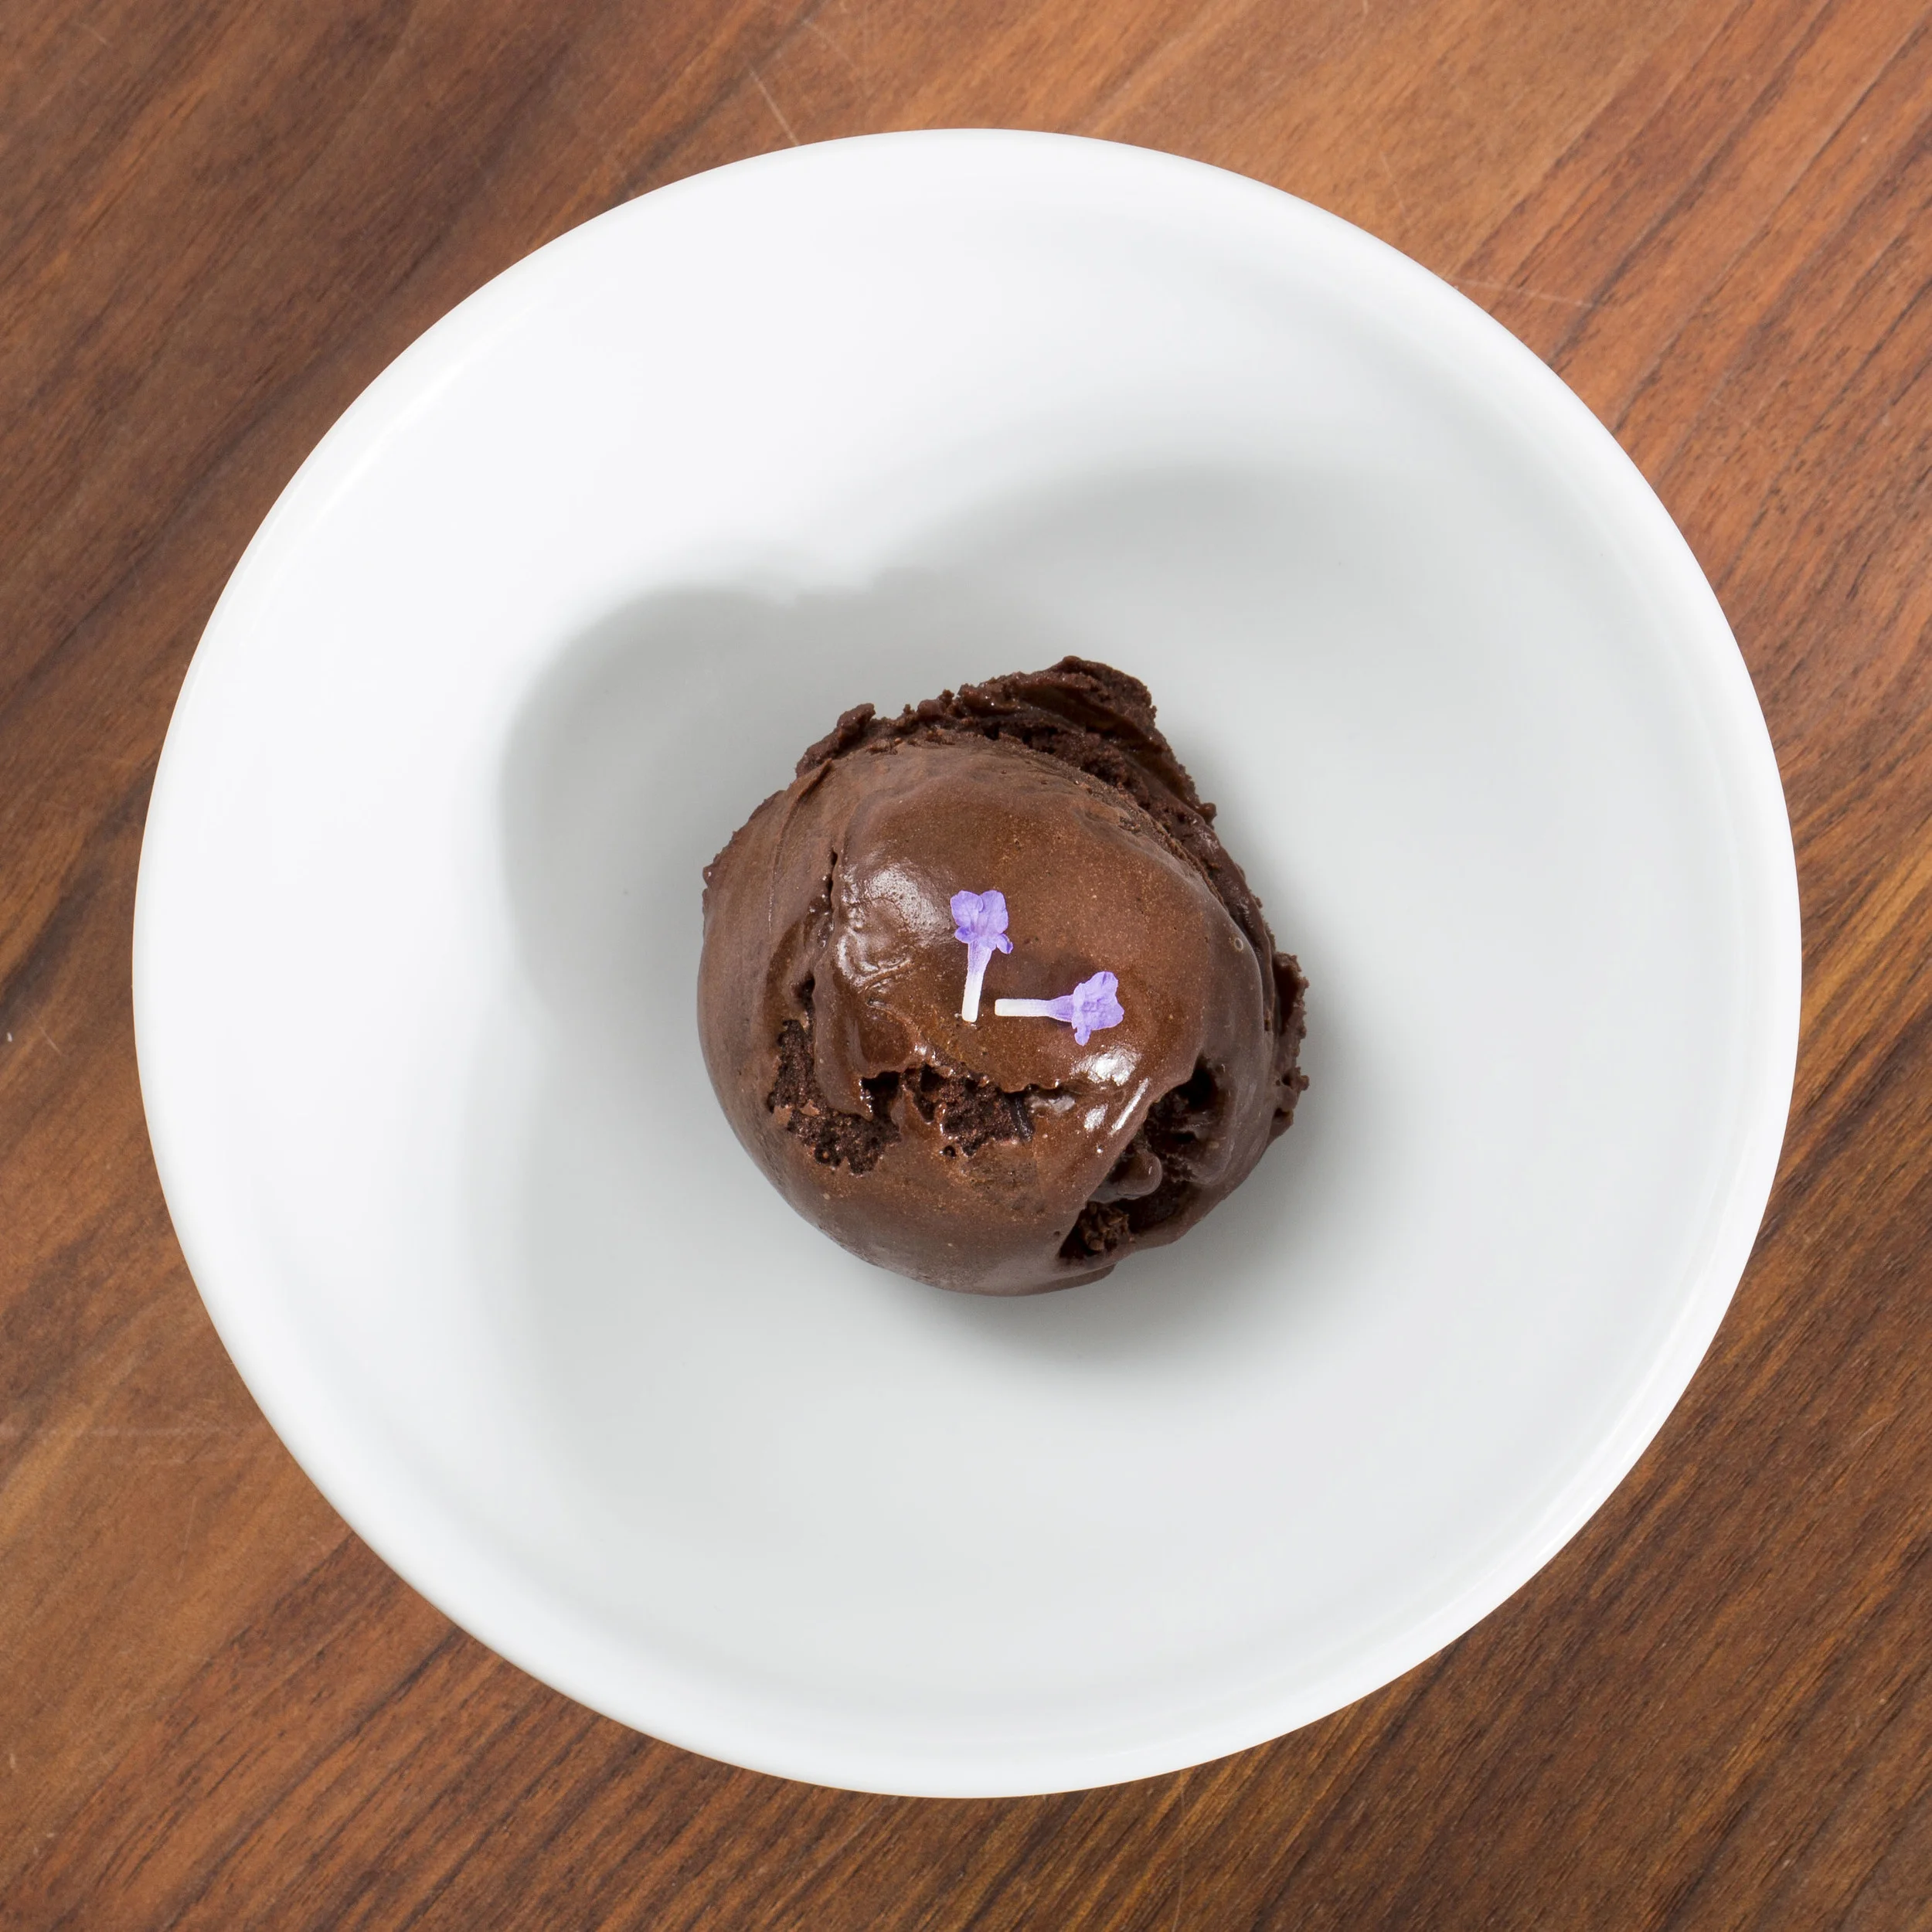
To celebrate Father's Day, and remembering my own dad, I'm making Stout Ice cream. This sweet creamy ice cream has a lot of caramel flavors with a bitter note in the end. It pairs perfectly with fresh summer berries. I know it sounds weird to have beer and ice cream, but it really works.

Makes about a pint - Somehow some of the ice cream always disappear on the way from the machine to the freezer. 

Ingredients:

  • 1 (ml) stout, I used a Guinness Extra Stout
  • 5 egg yolks
  • 125 g sugar, less if you use a sweet stout
  • 400 ml heavy whipping cream
  • 200 ml whole milk

Directions:

Bring the stout to a boil, reduce heat and let it simmer until you have a syrup. Let the syrup cool completely. 

Pour  half of the cream into a metal bowl placed in a larger bowl of ice, set aside. 

Warm milk, and 100 g sugar in a medium saucepan until scalding. Make sure the sugar is dissolved completely.

In another bowl, whisk egg yolks with 25 g sugar until light and fluffy. Slowly pour the warm milk into the egg yolks, while whisking constantly, then scrape the warmed egg yolks back into the saucepan, and heat the mixture over medium heat, until it thickens, about 1-2 minutes. Stir constantly in this process and make sure to scrape the bottom of the saucepan, DON'T LET IT COME TO A BOIL. 

Pour the egg/milk mixture into the cold cream through a sift. 

Cool the custard in refrigerator. 

Pour the custard into an ice cream maker and freeze it according to manufacturers instructions. 

Freeze the ice cream in the freezer a couple of hours before serving. Serve the stout ice cream with fresh fruit.

Enjoy!

Lime Ice Cream - Farven Metallic

Desserts, Ice CreamComment
Lime flødeis i metallic klæder.

Lime flødeis i metallic klæder.

Jeg meldte mig under fanerne på madbloggerudfordringen#8, denne gang skulle der laves mad og/eller drikkevarer i en af følgende farver: Grøn, brun, rød, hvid og metallic. 😳 Og ja jeg fik selfølgelig metallic, hvilket er blevet deffineret som glitter, glimmer og funklende. Men hvor meget glitter og glimmer er der i min mad til hverdag og fest? Not much.

Jeg brainstormede og kom frem til at der rent faktisk er funklende fødevarer, der omgiver os til dagligt. 

Marineret sild, der er ofte en skinnende sølv hinde på toppen af filleterne - nem løsning.

Mange fisk har metallisk skind, her tænker jeg især på en røget sild og markrel - en fiske dip/hjemmerøget markrel.

Skaldyr, muslinger har perlemor i skallen - det kunne være sjov at lave noget med abalone, den er lokal og i sæson.

Kager - vandbakkelser dyppet i karamel, ligesom da jeg lavede sportskagen.  Måske lave noget med en spejlblank glace.

Ideerne var mange og temmelig blandede, men så ramte hverdagen og rygsmerter mig. Jeg måtte finde på noget, der ikke krævede timer i køkkenet. Så jeg måtte ty til tilført metallic farve, intet naturligt her. 

Jeg fandt ud af, den farve jeg havde købt så fantastisk ud på en lime. Limen blev nærmest electric.  Så limen blev mit omdrejningspunkt, og da sommeren jo har indfundet sig her i Caliornien, så faldt valget på en is.

Super skøn lime flødeis serveres i metallic klæder.

Giver lidt over ½ liter is

Ingredienser:

  • 240 ml piskefløde
  • 240 ml sødmælk
  • 4 æggeblommer
  • 125 g sukker
  • 1 knivspids salt (sydesalt fra Læsø, selvfølgelig)
  • 3 limes, skal og saft

Ekstra:

Fremgangsmåde:

Hæld fløden i en skål, og sæt skålen oven i en større skål fyldt med is, så fløden holdes iskold. 

Riv den grønne del af de 3 limes ned i en skål, og pres saften ud af dem, ned i en anden skål.

Mix 25 g sukker med den revne limeskal, så limesmagen blander sig med sukkeret. Pisk æggeblommerne med limesukker til massen er let og luftig.

Varm mælk, 100 g sukker og salt i en tykbundet gryde indtil sukkeret er smeltet. Hæld den varme mælk i æggemassen lidt af gangen, mens der piskes, indtil al mælken er iblandet. Hæld det hele tilbage i gryden, og lun det indtil cremen er tyknet lidt. Pas på at ikke varme det for meget, da æggeblommen vil koagulere, dette sker ved 68℃. Kom cremen over i den kolde fløde, og afkøl den. Enten i køleskabet i 3-4 timer eller over isbadet.

Kør cremen i ismasinen ifølge instruktionerne til maskinen, indtil isen er begyndt at dannes. Kom limesaften i og forsæt med at køre iscremen indtil den er tyk og cremet. Frys isen i en fryseberegnet beholder i et par timer inden serveringen.

Servering:

Pensel kræmmerhusene med Wilton Pearl Dust™ så de får et metallic skær.

Kom en kugle is i hvert kræmmerhus og server.

Velbekomme!


The English version:


Lime Ice Cream

Ingredients:

  • 1 cup (240 ml) heavy whipping cream
  • 1 cup (240 ml) whole milk
  • 4 egg yolks
  • 125 g sugar
  • 1 pinch salt
  • 3 limes, zest and juice

Extra:

Directions:

Making the custard:

Pour the cream into a metal bowl placed in a larger bowl of ice, set aside. 

Zest and juice the limes, into separate bowls. Mix 25 g of the sugar with the lime zest, making lime sugar.

Warm milk, 100 g sugar, and salt in a medium saucepan. Make sure the sugar and salt is dissolved completely.

In another bowl, whisk egg yolks with the lime sugar. Slowly pour the warm milk into the egg yolks, while whisking constantly, then scrape the warmed egg yolks back into the saucepan, and heat the mixture over medium heat, until it thickens. Stir constantly in this process and make sure to scrape the bottom of the saucepan. 

Pour the egg/milk mixture into the cold cream. 

Cool the custard in refrigerator. 

Pour the custard into an ice cream maker and freeze it according to manufacturers instructions. When the custard starts to form ice crystals, pour in the lime juice, and keep freezing the ice cream. 

Freeze the ice cream in the freezer a couple of hours before serving.

Serving:

Dust the cones with Wilton Pearl Dust™  to get a metallic glare. Put a scoop of ice cream in the cones and serve immediately.

Enjoy!


Bondepige med Slør - Apple/Rhubarb Dessert

Desserts, CakeComment
Bondepige med Slør - Apple/Rhubarb Dessert

Bondepige med Slør - Apple/Rhubarb Dessert

This is an old classic Danish dessert, normally made only with applesauce, rye bread crunch and whipped cream. But I wanted to add some spring flavor and freshness to the dessert. So I added some rhubarb sauce. This dessert is a keeper, for sure.

Serves 6

Ingredients:

Apple Sauce:

  • 6-8 apples (Pink Lady)

  • 100 g sugar (depending on how sweet you want the Apple Sauce)

  • 1 teaspoon vanilla paste

  • 50 ml water

Crunch:

And:

Directions:

Apple Sauce:

Peel and core the apples and cut them in small pieces. Cook the apples with sugar, water and vanilla paste, until they are very soft. Cool the Apple sauce in the refrigerator.

Crunch:

Grate the rye bread. Melt the butter in a pan and toast the rye bread in the butter over medium heat, until light crispy. Add the sugars and let it just caramelize and coat the rye bread. Spread the crispy rye bread on a piece of parchment paper, mix in the brown sugar and let the crunch cool completely.

Whipped Cream:

Whisk the cream until little over soft peak, be careful not to over-whisk the cream, because it will become grainy and eventually turn into butter. Do not add any sugar, you want the clean taste of the cream. 

Assembly:

Layer the sauces with the crunch in a serving glasses and top of with the whipped cream.

Enjoy!


Easter Cake

Cake, DessertsComment
Easter Cake.

Easter Cake.

I saw this decorating on Pinterest and I was sold. I had to make this cake for our Easter celebration/family gathering. 

I have been wanting to put up recipes for a traditional Danish layer cake for the longest time. Every time I made a cake, we have had people over, and the cake has been eaten before we could take a picture. So this was my chance. Well, so I thought. Because we had to bring the cake to the family gathering, we could only take pictures of the decorated cake, and no pictures of a slice. 

Slicing the cake was not an easy task. The edible grass was kinda difficult to cut, to get a pretty slice. But it was fun making, and the reaction to the cake was well worth the effort. 

Serves 10-12

Ingredients:

Directions:

Make the cake/lagkagebunde/the spongecake and the mousses. I normally make the cake a day in advance, to ease my workload on the day I need the cake.

Place a springform or ring lined with some plastic cake wrap on a cutting board. Place one layer of the cake in the bottom, (I sprinkle the cake with some water/port or juice to moisten the cake). Pipe the chocolate mousse on the cake and even it out. Place the cake in the refrigerator for the mousse to set for 10-15 minutes. Place a thin piece of cake on top of the mousse, and put the passionfruit mousse on top followed by the last piece of cake, this placed upside down on the mousse. Put the cake back in the refrigerator for a minimum of 2 hours to set.

Make the buttercream.

Remove the ring or springform.  

Spread a thin even layer of buttercream on the top of the cake, repeat on the sides of the cake. 

Cut up 1 pack of edible grass into 1-inch (2,5 cm) pieces into a large shallow dish. Spray a very small amount of water over the edible grass, this will make the grass a bit sticky. Now using your hands, mix the grass together, so the water spreads, and the grass starts to clump together. Working in small batches, take a clump of grass up and adhere it to the buttercream on the cake. Repeat putting the grass on the cake until it is all covered. Spray with very little water over the cake, for the grass to stay in place.

Place the bunny on top and sprinkle the M&M's round the bunny.

Let the grass dry completely, and place the cake on a cake stand and serve it.

Enjoy!


Chocolate Mousse

Desserts, Frostings & Fillings2 Comments
Chocolate Mousse

Chocolate Mousse

Easy, no eggs chocolate mousse, perfect in layer cakes.

Adapted from piskeriset.dk

Ingredients:

  • 300 ml heavy whipping cream
  • 220 g milk chocolate, I used Valrhona
  • 2 sheets of gelatin (husblas), about 3.5 g

Directions:

Place the gelatin (husblas) in cold water to bloom for 5-10 minutes. Melt the chocolate over at double boiler with 50 ml of the cream. 

Whip the remaining cream to medium hard peaks. (You don't want it to become grainy.)

Melt the gelatin in a small ball over a double boiler. (I just place a bowl as a lid on a saucepan with water I just boiled in a kettle. I don't put the saucepan over the heat.) Mix the gelatin in the melted chocolate. Let the chocolate cool to finger-warm. Gently fold the whipped cream in the chocolate. Pour the Mousse in small serving sized bowls, one large bowl if served family style or use it as filling in a cake. 

Now the chocolate mousse has to set. Let the mousse set for a minimum of 2 hours in the refrigerator.

Enjoy!